
AI Undress Results Start With the Photo: How to Pick & Shoot the Best Input
Most undress results fail before the model ever runs. They fail in the photo: a dark room, a baggy sweater, a body half-hidden behind an arm, a face turned away. The model can only remove what it can see, and it can only rebuild what the photo gives it. A good input photo does half the job. A bad one makes the model guess — and guesses are where the weird anatomy comes from.
This guide is about the input: how to pick a photo that undresses well, how to shoot one if you do not have one, what lighting and clothing make the model’s job easy, and the six fixes for the six failures you will actually see. The tool costs 21 credits per image; this guide is about making those 21 credits count.
Quick verdict
Pick a photo that is bright, sharp, front-facing, and shows the whole body in fitted clothing against a plain background. That one choice decides more than any setting. If the photo fails two of those five, shoot a better one instead of paying to undress a bad one — the model cannot invent what the photo never showed it.
In this guide
- 1. The photo decides the result
- 2. The five qualities of a good input photo
- 3. Clothing: what helps, what hides
- 4. Lighting: the cheapest upgrade
- 5. Pose and framing: show the whole body
- 6. How to shoot a good input photo
- 7. What it costs, and how to spend less
- 8. The six common failures — and their fixes
- 9. Undress vs generate: when to use which
- 10. Consent: the rule that decides everything
- FAQ
1. The photo decides the result
Undress is not generation. A generator invents a person from words; undress rebuilds a person from a photo. That makes the input photo the most important part of the process. The model looks at the photo and asks: what is under this clothing, in this pose, in this light? If the photo answers clearly, the result is clean. If the photo is dark, blurry, or half-hidden, the model fills the gaps with guesses — and guesses are where extra limbs, wrong anatomy, and melted skin come from.
Think of it like a tailor measuring for a suit: good measurements, good suit; a blurry photo, a bad one. The model is the same. Your job is not to find the perfect prompt — undress has no prompt to write. Your job is to give the model a photo it can measure from.
That is good news: the quality of your results is mostly in your control, and it costs nothing — picking a better photo is free, and shooting a better one takes five minutes. The expensive habit is the opposite: paying 21 credits to undress a photo that was never going to work, then paying again hoping for a better roll.
2. The five qualities of a good input photo
Judge every candidate photo against these five. If it passes four or five, use it. If it passes three, fix what you can. If it passes two or fewer, find another photo.
- Bright. The whole body is well lit, with no deep shadows across the torso. The model reads skin and clothing from light; a shadowed body is a body it has to guess at.
- Sharp. The photo is in focus, not blurry, not heavily compressed. Blur destroys the edges the model uses to find where clothing ends and skin begins.
- Front-facing. The body faces the camera, or nearly so. A side view hides half the body; a back view hides the front entirely. Front-facing gives the model the most information per pixel.
- Whole body. The full figure is in frame, head to knees at least, with space around it. A cropped torso forces the model to invent everything outside the frame.
- Plain background. A simple wall or room behind the person. A busy background gives the model more things to keep consistent, and it will spend effort on the background instead of the body.
Notice what is not on the list: the camera, the resolution, the file format. A phone photo that is bright, sharp, and front-facing beats a professional photo that is dark and cropped. The model does not care how the photo was taken — it cares what the photo shows.
3. Clothing: what helps, what hides
Clothing is the model’s main clue. It tells the model where the body is, how it is shaped, and where the edges are. Tight, simple clothing gives the best clues. Loose, layered, or patterned clothing hides them.
| Clothing | Why it works or fails |
|---|---|
| Fitted dress or top | Shows the body’s outline clearly; the model can follow the shape underneath |
| Swimwear or fitted underwear | Least fabric to remove, most body visible; the most reliable input |
| Plain t-shirt and jeans | Works fine — simple shapes, clear edges, no surprises |
| Baggy sweater or hoodie | Hides the body’s shape; the model guesses the waist and chest |
| Layered outfits, jackets, scarves | Each layer is a surface the model must peel; edges get confused |
| Busy patterns, stripes, logos | Patterns fight the model’s edge detection; stripes especially warp the outline |
The rule is simple: the less the clothing hides, the less the model has to invent. That does not mean the photo has to be revealing — a fitted dress works nearly as well as swimwear. If you have a choice between a baggy hoodie and a fitted top, the fitted top wins every time.
4. Lighting: the cheapest upgrade
Light is the single biggest quality lever after the photo itself, and it is free. The model reads the body through light and shadow; even, bright light gives it clean information, while harsh or uneven light gives it shadows it must interpret — and shadows across a body are easily mistaken for shape.
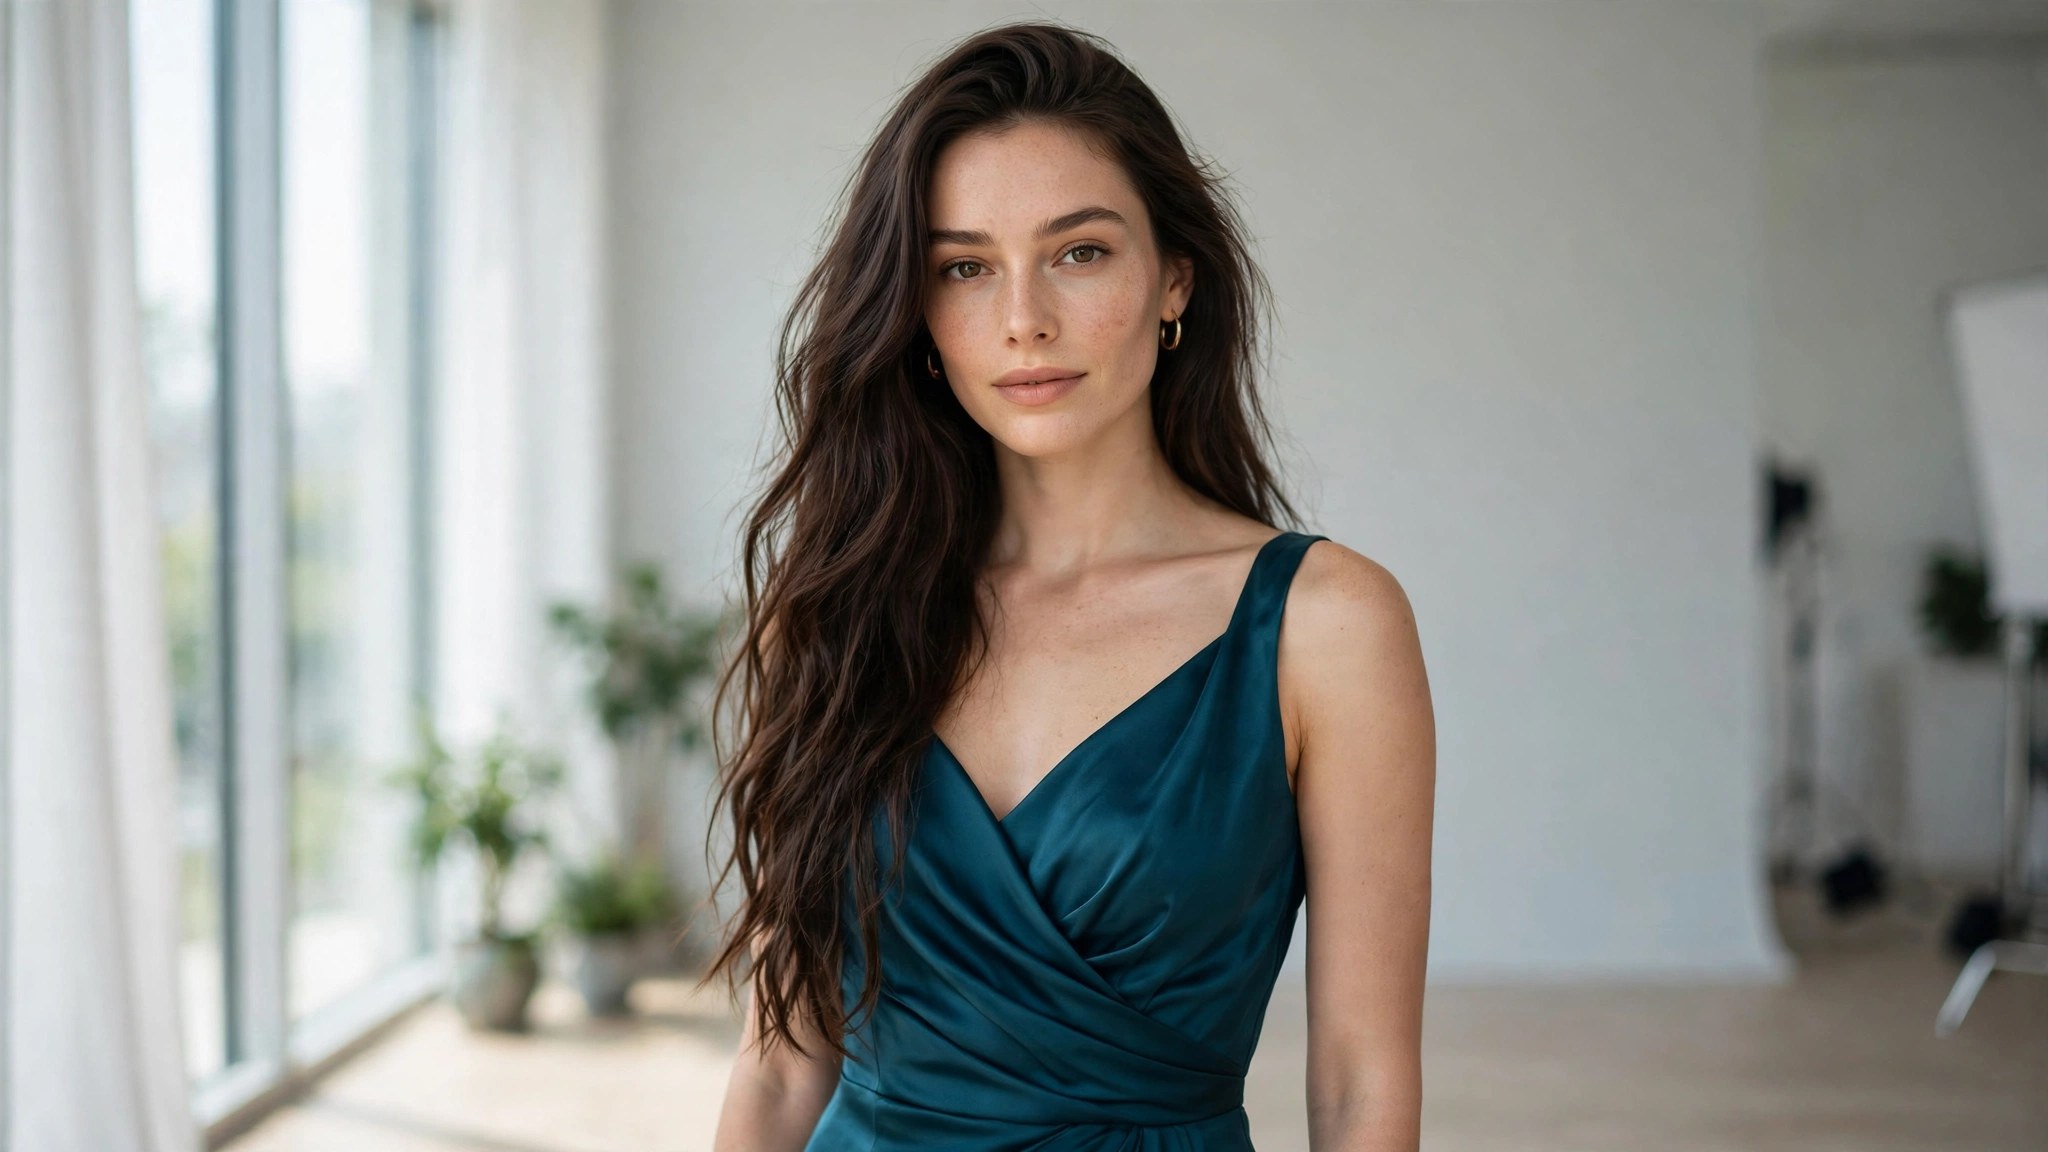
Best light is soft daylight: stand near a large window in the daytime, facing the window. The light falls evenly across the body, there are no hard shadows, and the skin tone stays true. Second best is a bright room with the ceiling light on and a lamp filling the shadows. Worst is a single harsh light from one side, a dark room with a flash, or backlighting that turns the body into a silhouette.
Check the photo before you upload it: can you see the body’s outline clearly from head to knees? Is the skin one even tone, or is half the torso in shadow? If the answer is shadow, move the person or the light and shoot again. Five minutes with a window beats five generations at 21 credits each.
5. Pose and framing: show the whole body
The model needs to see the body to rebuild it. A pose that hides the body — arms crossed tight, a hand on the hip covering the waist, a leg behind the other — forces the model to invent the hidden parts, and invented parts are where anatomy goes wrong. The best poses are open: arms relaxed at the sides or slightly away from the body, legs a little apart, face toward the camera.
Framing matters as much as pose. The whole figure should be in frame with a little space around it — head to knees at minimum, head to feet if you can. A photo cropped at the waist gives the model half a body and asks it to invent the rest. A person tiny in the distance gives it too few pixels. Fill the frame with the person, but do not cut them off.
Keep the camera level and the person upright. A tilted photo makes the model rebuild a tilted body, and a body shot from far below or far above distorts the proportions before the model even starts. Eye level, straight on, whole body — that is the input the tool was built for.
6. How to shoot a good input photo
You do not need a studio. You need a window, a plain wall, and five minutes.
- Pick the wall. A plain wall, a closed curtain, a tidy room. Remove anything bright or busy behind the person.
- Place the light. Put the person facing a large window in daylight, or turn on the room lights and add a lamp. The light should fall on the front of the body, evenly.
- Dress fitted. A fitted dress, a plain top and jeans, or swimwear. No baggy layers, no busy patterns.
- Frame the whole body. Step back until the figure fits head to knees with space around it. Camera at chest height, level, straight on.
- Check before you upload. Bright? Sharp? Front-facing? Whole body? Plain background? If it passes four of five, upload it. If not, move the light or the person and shoot again.
If you are using a photo someone else took, run the same five checks. A photo that fails two of them is not worth 21 credits — find another photo first. The cheapest generation is the one you never run on a bad input.
7. What it costs, and how to spend less
Undress on this site costs 21 credits per image — about $0.42 on the $19.99 pack (1,000 credits) and about $0.25 on the $59.99 pack (5,000 credits). The generator shows the exact cost before you run it. There is no video undress: frame-by-frame undressing is unreliable and expensive, so undress the still first and animate it afterward if you want motion.
How to spend less: first, pick the photo properly — a good input succeeds on the first try, a bad one burns three. Second, change the input when a result fails instead of rerolling the same photo: if two attempts with the same photo both fail, the photo is the problem, not the roll. Third, judge the still as a photograph first and only undress the keepers. A 21-credit undress on a keeper is money well spent; the same 21 credits on a photo you would have deleted anyway is money gone.
Budget honestly: if one in three undresses is a keeper, the real price is 63 credits per keeper. That is the number to plan around, not 21.
8. The six common failures — and their fixes
Almost every bad undress fails in one of six ways. Each one points back to the input.

- Wrong anatomy. The body looks off — proportions wrong, chest or hips misplaced. Cause: baggy or layered clothing hid the shape. Fix: a fitted outfit, front-facing, whole body in frame.
- Melted skin. The skin looks waxy, smeared, or textureless. Cause: blurry or heavily compressed photo. Fix: a sharp, high-quality original; do not upscale a blurry photo first.
- Shadow artifacts. Dark patches or strange shading on the body. Cause: uneven light, hard shadows across the torso. Fix: soft daylight, even light, no flash.
- Extra or missing parts. An extra limb, a missing hand, a distorted arm. Cause: the pose hid the limbs — arms crossed, hands behind the back. Fix: open pose, arms visible and separated from the body.
- Face changed. The face does not look like the person anymore. Cause: the face was small, turned away, or in shadow. Fix: front-facing, well-lit face, large enough in frame; keep the face toward the camera.
- Background warped. The wall bends, furniture slides, objects melt around the body. Cause: busy background. Fix: plain wall, simple room, nothing bright behind the person.
When a result fails, match it to this list and fix the input it points to. Do not reroll the same photo — the same input gives you the same class of failure.
9. Undress vs generate: when to use which
Undress and generation solve different problems. Use undress when you already have the person and the pose — a photo you like, a body you want to see unclothed. Use generation when you do not have a photo, or when you want a different person, pose, or scene. Undress is the cheaper tool for a specific photo: 21 credits against about 49 for a new image, and it keeps the face and setting you already chose.
Work in order: pick the photo, undress it, then edit or animate. An editor fix to the still is cheaper than a fix attempted after animating, and a face swap on the still is cheaper than swapping a face in a video. Undress is a step in a chain, not the whole chain — and the chain starts with the photo.
If you want a video of an undressed person, undress the still first, then animate the undressed still with the video generator. There is no video undress, and there does not need to be: one good still, undressed once, animates better than any frame-by-frame attempt.
10. Consent: the rule that decides everything
Only undress photos of yourself, or of fictional adults. Never undress a photo of a real person without their consent — not a celebrity, not an acquaintance, not a stranger. Non-consensual undress is not allowed, and a generated image is harder to take back than a photo once shared. The tool is built for your own photos and fictional adults, and that boundary is absolute.
This is also practical, not just ethical: photos taken with consent are usually better inputs — shot properly, well lit, front-facing, because the person knew they were being photographed. A stolen or secret photo is usually dark, cropped, or shot from a bad angle. Consent and quality point the same way.
FAQ
What photo works best for AI undress?
Bright, sharp, front-facing, whole body in frame, plain background, fitted clothing. If the photo passes four of those five, use it; if it passes two or fewer, find or shoot a better one first.
How much does one undress cost?
21 credits per image — about $0.42 on the $19.99 pack and about $0.25 on the $59.99 pack. The generator shows the exact cost before you run it.
Why does the face change after undressing?
Usually the face was small, turned away, or in shadow in the input photo. Use a front-facing, well-lit face, large enough in frame, and keep the face toward the camera.
Can I undress a video?
No — there is no video undress. Undress the still first (21 credits), then animate the undressed still with the video generator if you want motion.
Does baggy clothing ruin the result?
It makes the model’s job much harder: baggy or layered clothing hides the body’s shape, so the model guesses the waist and chest. A fitted outfit gives a far more reliable result.
Can I undress a photo of a real person?
Only with their consent: use photos of yourself, or of fictional adults. Undressing a real person without consent is not allowed.
Final verdict
Undress quality is decided before you press generate. A bright, sharp, front-facing photo of a whole body in fitted clothing against a plain background succeeds on the first try; a dark, blurry, cropped photo fails three times and teaches you nothing. Pick the photo properly, shoot one if you need to, fix the input when a result fails, and never pay 21 credits twice for the same bad photo. The tool is cheap. The photo is free. Spend the free part well and the cheap part counts.
Leave a Comment