
AI Undress Not Working? 6 Failures and How to Fix Each One (2026)
Diagnose before you retry. An undress result that fails is a message, not a mystery: the failure tells you what went wrong, and what went wrong tells you what to fix. Clothes still on means the input hid the body. Anatomy wrong means the pose confused the model. Face changed means the identity was not protected. Blurry means the input was too small. Every failure has a cause, and every cause has a fix — and the fix is cheaper than the retry.
This guide is about AI undress failures: six common failures, what causes each one, and how to fix it. It is written for fictional adult content only. The consent rule is absolute: generate images of yourself, or of fictional adults, and never of a real person without their consent.
Quick verdict
Most undress failures are input failures, not tool failures. A front-facing, well-lit, high-resolution photo fixes four of the six failures in this guide. Change one thing per retry — the photo, the pose, or the prompt — and the failure tells you whether the fix worked.
In this guide
- 1. Diagnose before you retry
- 2. Clothes still on: the input problem
- 3. Anatomy wrong: the pose problem
- 4. Face changed: the identity problem
- 5. Blurry output: the resolution problem
- 6. Artifacts: the negative-prompt problem
- 7. The retry rule: change one thing
- 8. When the input is the problem, not the tool
- 9. Cost: what a failed undress costs
- 10. Consent: the rule that decides everything
- FAQ
Six failures, six fixes
| Failure | Symptom | Usual cause | Fix |
|---|---|---|---|
| Clothes still on | Output still dressed | Loose clothing hides the body | Tight clothing, front-facing photo |
| Anatomy wrong | Body looks broken | Twisted or hidden pose | Simple, open pose |
| Face changed | Face is not yours | No face protection in the prompt | Keep-face wording, same photo |
| Blurry output | Soft, low-detail result | Small or compressed input | High-resolution original |
| Artifacts | Extra limbs, smears | Cluttered background | Plain background, negative prompt |
| Wrong body shape | Body does not match | Side angle, baggy clothes | Front angle, fitted clothing |
The table is the whole guide in one place. Each failure has a symptom, a cause, and a fix — and the fix is usually the photo, not the tool. The rest of this guide is each failure in detail: what it looks like, why it happens, and what to change.
1. Diagnose before you retry
Diagnose before you retry, because a retry without a diagnosis is a guess, and a guess costs 21 credits. Look at the failed result and name the failure: clothes still on, anatomy wrong, face changed, blurry, artifacts, or wrong body shape. One name, one cause, one fix. A failure without a name is a failure you will repeat.
And keep the failed result: it is the diagnosis. Compare it with the input photo, side by side, and the difference is the cause. If the input is dark and the output is dark, the input is the cause. If the input is sharp and the output is blurry, the tool is the cause. The comparison is the diagnosis, and the diagnosis is free.
And write the fix down before you retry: one sentence, one change. “Front-facing photo, tight clothing, plain background.” One sentence, one retry, and the result tells you whether the sentence was right.
2. Clothes still on: the input problem
Clothes still on, because loose clothing hides the body, and a hidden body is a body the model cannot undress. A baggy shirt, a loose dress, a jacket — the model sees fabric, and fabric is what it keeps. The fix is not a better prompt. The fix is a better photo: tight clothing, fitted, front-facing, and the body visible under the fabric.

And check the light: a dark photo hides the body the same way loose clothing does. A well-lit photo shows the shape, the edges, and the skin — and the shape is what the model needs. Light is the input, and the input is the fix.
And if the clothes are still on after a good photo, the pose is the problem: a side angle hides the body, and a hidden body is a kept body. Front-facing, shoulders square, arms at the sides — and the body is there to undress.
3. Anatomy wrong: the pose problem
Anatomy wrong, because a twisted pose confuses the model, and a confused model draws a broken body. Arms crossed over the chest, legs crossed, a body turned sideways — the model guesses where the body is, and the guess is wrong. The fix is a simple, open pose: arms at the sides, legs straight, body facing the camera.
And the simpler the pose, the safer the anatomy: a standing pose is safer than a sitting pose, and a sitting pose is safer than a lying pose. A pose with one bend is safer than a pose with three bends. Simple is safe, and safe is correct.
And when the anatomy is wrong, change the pose, not the prompt: a prompt cannot fix a pose, and a pose cannot fix a prompt. One change, one retry, and the anatomy tells you whether the pose was the problem.
4. Face changed: the identity problem
Face changed, because the model rebuilds the face when it rebuilds the body, and a rebuilt face is a different face. The fix is face protection in the prompt: write that the face must stay the same, the same person, the same features — and write it strongly, because a weak instruction is an ignored instruction. A strong face instruction is the fix.
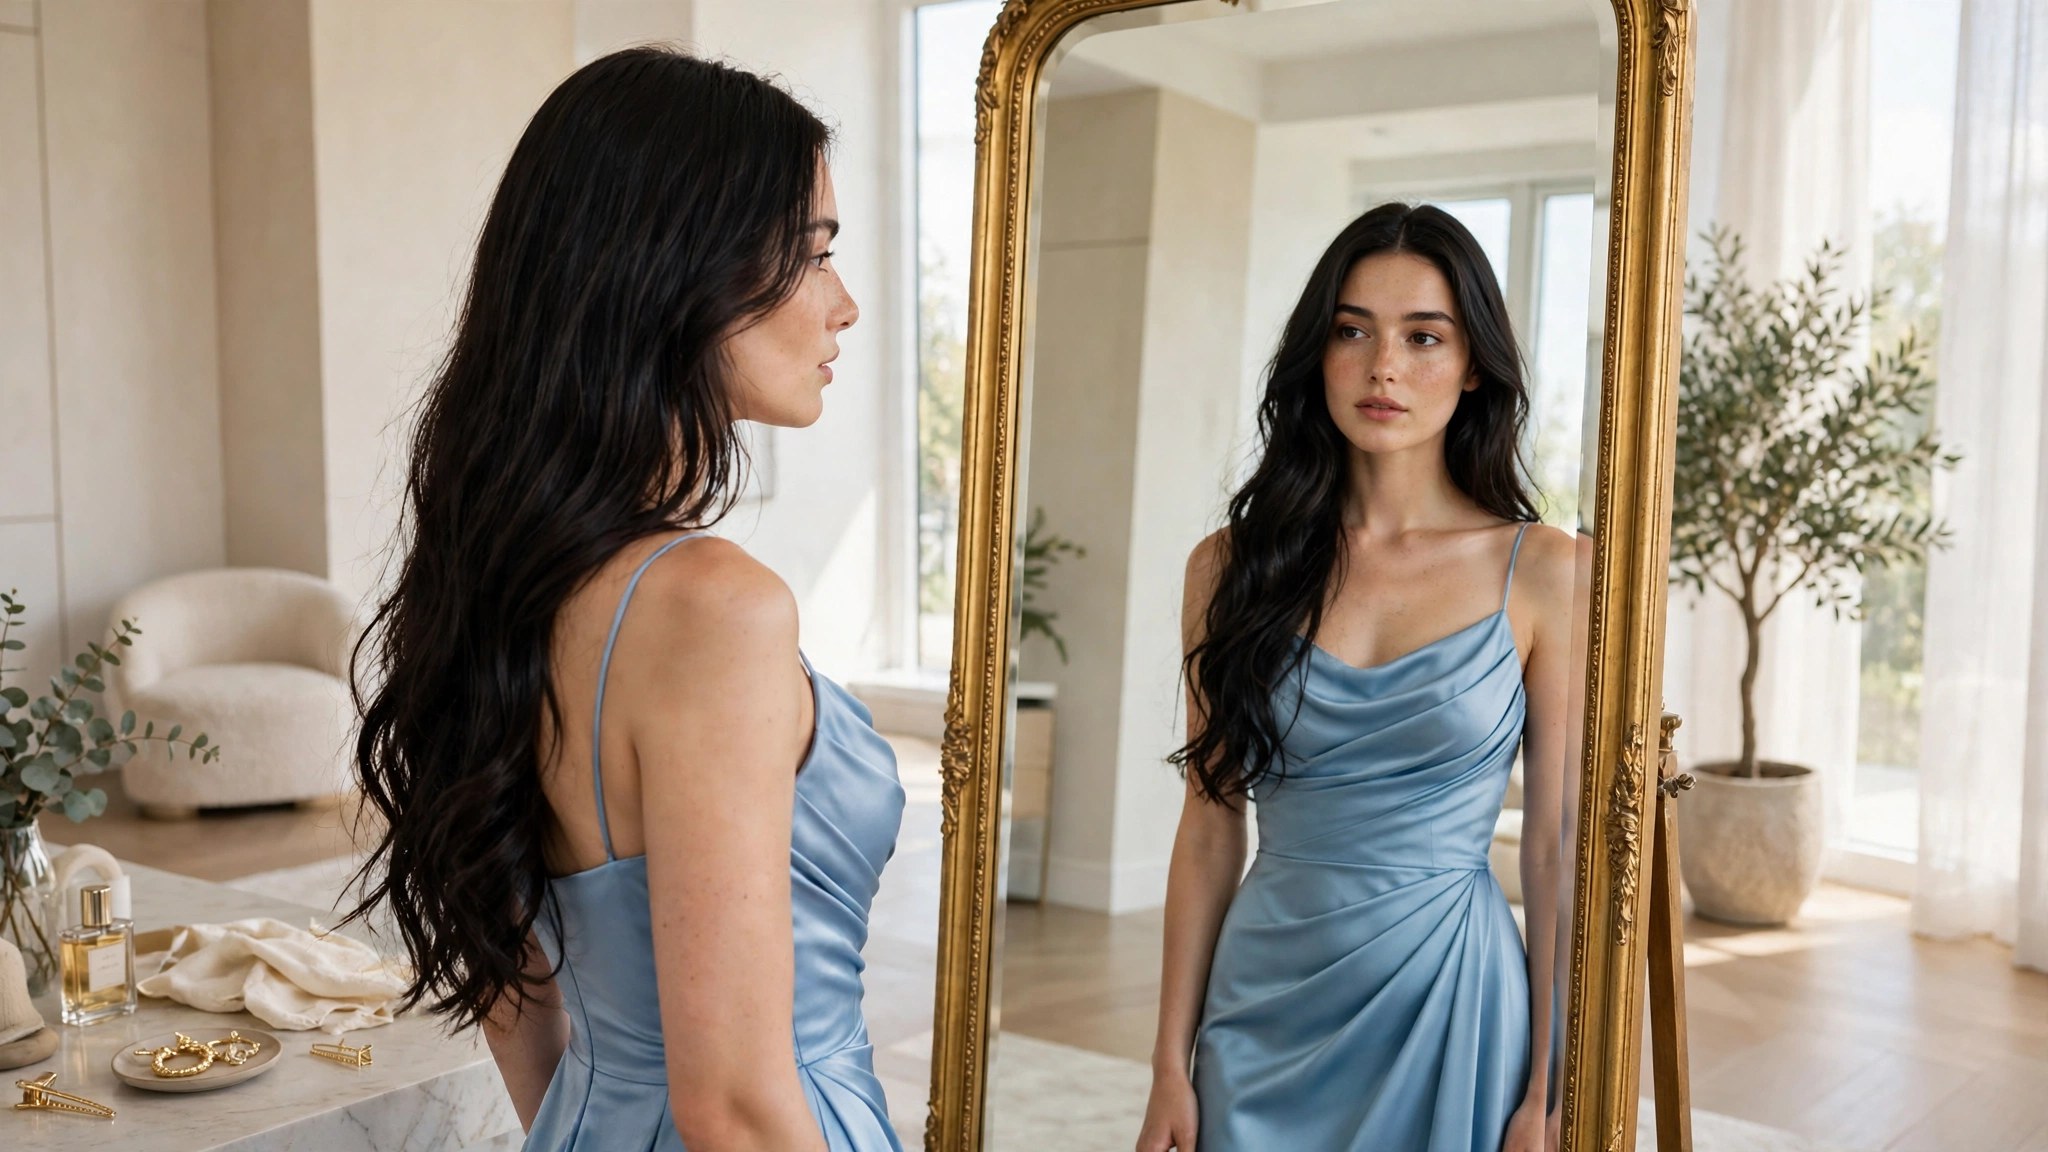
And use the same photo for the retry: a new photo is a new face, and a new face is a new problem. The same photo, the same face, and the fix is the prompt — not the photo. Same photo, one change, and the face tells you whether the fix worked.
And check the input face first: a small, dark, or side-facing face in the input is a face the model cannot keep, because it cannot see it. A large, well-lit, front-facing face is a face the model can keep. The input face is the fix, and the fix is the photo.
5. Blurry output: the resolution problem
Blurry output, because a small input makes a small output, and a small output is a blurry output. A photo downloaded from a chat, a screenshot, a compressed file — the model cannot add detail that is not there, and detail that is not there is blur. The fix is the original: the highest-resolution photo you have, uncompressed, straight from the camera.
And check the size before you upload: a photo under 1000 pixels wide is a small photo, and a small photo is a blurry result. A photo over 2000 pixels wide is a large photo, and a large photo is a sharp result. Size is the fix, and the fix is free.
And do not upscale a blurry photo and hope: upscaling a blurry photo makes a bigger blurry photo, and a bigger blurry photo is still blurry. The original is the fix, and the original is the photo you took.
6. Artifacts: the negative-prompt problem
Artifacts — extra limbs, smears, melted edges — because a cluttered background confuses the model, and a confused model draws what is not there. A busy room, a patterned wall, a crowd behind you: the model reads the clutter as body, and the body it draws is wrong. The fix is a plain background: a blank wall, a clean room, and nothing behind you.
And add a negative prompt: the words for what you do not want — extra limbs, distorted anatomy, blurry, low quality. A negative prompt is the guardrail, and the guardrail is the fix. Write it every time, and the artifacts fade.
And when the artifacts stay, simplify the background first and the prompt second: a plain background fixes more artifacts than a long negative prompt. Background first, prompt second, and the artifacts tell you which one worked.
7. The retry rule: change one thing
Change one thing, because a retry that changes three things teaches nothing. Change the photo, or change the pose, or change the prompt — not all three. One change, one retry, and the result tells you whether the change was the fix. Three changes, one retry, and the result tells you nothing.
The test is the sentence test: write the change in one sentence before you retry. “Front-facing photo, same pose, same prompt.” One sentence, one change, one lesson. A sentence with three changes is a guess, and a guess is a wasted retry.
And stop after three retries with no improvement: three retries is three lessons, and three lessons without improvement means the input is the problem, not the tool. Stop, take a new photo, and start again. A new photo is cheaper than a fourth retry.
8. When the input is the problem, not the tool
When the input is the problem, not the tool, because the tool cannot fix a bad photo. A dark photo, a small photo, a side-facing photo, a photo with loose clothing — the tool reads what is there, and what is there is the problem. No prompt fixes a dark photo. No setting fixes a small photo. The photo is the fix, and the fix is a new photo.
The test is simple: would a person looking at the input photo know what the body looks like? If the answer is no, the model does not know either, and the model guesses. If the answer is yes, the model knows, and the model draws. The photo is the truth, and the truth is the input.
And take the new photo properly: daylight, front-facing, tight clothing, plain background, high resolution. Five rules, one photo, and the failures in this guide disappear. A good photo is the cheapest fix in this guide, and the cheapest fix is the best fix.
9. Cost: what a failed undress costs
An undress is 21 credits — roughly $0.42 on the $19.99 pack and $0.25 on the $59.99 pack. Three tests is 63 credits — roughly $1.26 on the $19.99 pack and $0.76 on the $59.99 pack. A still image is about 49 credits — roughly $0.98 on the $19.99 pack and $0.59 on the $59.99 pack. Prices checked 12 Nov 2026; the generator shows the exact cost before you run it, so the price is never a surprise.
And that is why diagnosing first is a money rule, not just a style rule: a diagnosis costs nothing, and a diagnosis saves retries. A retry without a diagnosis costs 21 credits, and three retries without a diagnosis cost 63. The diagnosis is the saving, and the saving is free.
The paid packs are for generation: $19.99 for 1000 credits, $59.99 for 5000 credits, and the annual packs at $119.88 and $359.88, paid once and delivered monthly over twelve months.
10. Consent: the rule that decides everything
Only generate images of yourself, or of fictional adults. Never generate an image of a real person without their consent — not a celebrity, not an acquaintance, not a stranger. Non-consensual generation is not allowed, and a generated image is harder to take back than a photo once shared. The tool is built for your own images and fictional adults, and that boundary is absolute.
This is also practical, not just ethical: images made with consent are usually better inputs and better results. They are shot properly, well lit, front-facing — because the person knew they were being photographed. A stolen or secret photo is usually dark, cropped, or shot from a bad angle, which is also a bad input. Consent and quality point the same way — and a failed undress, diagnosed honestly, is the proof: it fails because the input is bad, not because the tool is broken.
FAQ
Why is my AI undress still showing clothes?
Because loose clothing hides the body, and a hidden body is a body the model cannot undress. Use a front-facing photo with tight, fitted clothing and good light — the body must be visible under the fabric.
Why does the face change in undress results?
Because the model rebuilds the face when it rebuilds the body. Write a strong face instruction — the face must stay the same, the same person — and use the same photo for the retry.
Why is my undress result blurry?
Because the input was too small or compressed. Use the original, highest-resolution photo straight from the camera. A photo under 1000 pixels wide is a small photo, and a small photo is a blurry result.
How do I fix artifacts in undress results?
Simplify the background first — a plain wall, a clean room — and add a negative prompt for what you do not want: extra limbs, distorted anatomy, blurry, low quality.
How much does a failed undress cost?
An undress is 21 credits — roughly $0.42 on the $19.99 pack and $0.25 on the $59.99 pack. Three tests is 63 credits. Diagnosing first costs nothing and saves retries.
Can I undress a photo of a real person?
No. Only generate images of yourself, or of fictional adults. Generating an image of a real person without consent is not allowed.
Final verdict
Most undress failures are input failures, not tool failures. A front-facing, well-lit, high-resolution photo fixes four of the six failures in this guide. Change one thing per retry — the photo, the pose, or the prompt — and the failure tells you whether the fix worked.
Leave a Comment